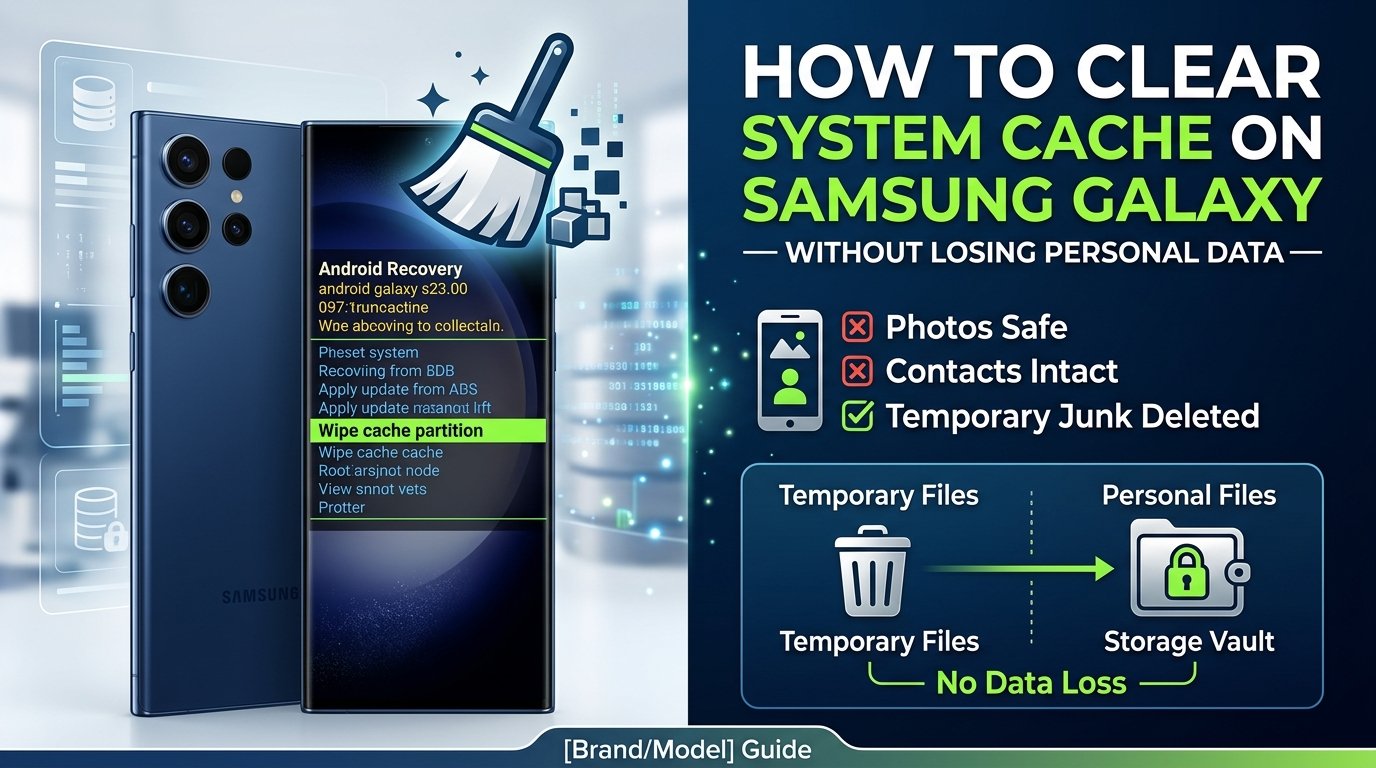
Is your Samsung Galaxy phone running slow, freezing up, or overheating after a recent software update? Over time, temporary system files—known as cache—accumulate in your phone’s memory. When these cached files become corrupted, they can slow down performance.
Fortunately, you can clear the system cache on your Samsung Galaxy without losing any personal data, photos, or app settings. This step-by-step guide walks you through the safe cleaning process.
What is System Cache and Is It Safe to Clear?
System cache consists of temporary files created by Android to launch applications and execute system processes faster.

- Is it safe to clear? Yes. Clearing system cache only deletes temporary files.
- Does it delete my personal files? No. Your photos, videos, contacts, messages, and login details remain completely untouched.
- Difference between Clear Cache and Clear Data: “Clear Cache” removes temporary junk files. “Clear Data” resets an app to its factory state, which will log you out and wipe app settings. Avoid clicking “Clear Data” unless you want a fresh start.
Method 1: Clear System Cache via Recovery Mode (Wipe Cache Partition)
The most thorough way to wipe temporary system files across your entire device is by performing a Wipe Cache Partition in Android Recovery Mode.
Steps for Modern Samsung Galaxy Phones (Android 11, 12, 13, 14, and newer)
- Turn off your Samsung Galaxy phone completely.
- Connect your phone to a PC, laptop, or USB-C earphones using a USB cable (this triggers Recovery Mode access on modern One UI versions).
- Press and hold the Volume Up button and Power / Side button simultaneously.
- Release both buttons when the Samsung Logo appears on screen.
- Use the Volume Down button to navigate down the menu and highlight Wipe cache partition.
- Press the Power button to select it.
- Press Volume Down to select Yes, then press the Power button to confirm.
- Once complete, highlight Reboot system now and press the Power button.
Your device will restart smoothly, completely refreshed without any lost data!
Method 2: Clear Storage and Junk via Samsung Device Care
If you prefer not to enter Recovery Mode, you can use Samsung’s built-in system optimizer.
- Open Settings on your Samsung phone.
- Scroll down and tap Device Care (or Battery and Device Care).
- Tap Optimize Now.
- The system will close background apps and delete temporary memory cache automatically.
Summary Checklist
| Action | Deletes Personal Data? | Recommended Frequency |
| Wipe Cache Partition | ❌ No | After major system/software updates |
| App Clear Cache | ❌ No | When a specific app freezes or glitches |
| App Clear Data | ⚠️ Yes (App settings only) | Only when an app fails to open |
Article 2: Comprehensive Technical & Troubleshooting Guide
Deep Dive: How to Clear System Cache on Samsung Devices Safely
- Meta Title: Clear Samsung System Cache: Recovery Mode & App Cleaning Guide
- Meta Description: Fix Samsung Galaxy lag and app crashes by clearing system cache and wiping cache partitions without losing photos, files, or user data.
When your Samsung Galaxy device encounters battery drain, sluggish animations, or unexpected app crashes, the culprit is often stale or corrupted system cache files left behind after software updates.
This technical guide breaks down how cache works on Samsung One UI, how to safely wipe system-wide cache partitions, and how to maintain high device performance without risking data loss.
Understanding Cache Memory in Android One UI
Your phone stores two distinct types of cache memory:
- System Cache (Cache Partition): Stores Android operating system files, system app logs, and temporary boot instruction files.
- App Cache: Stores temporary media files like social media thumbnails, web cookies, and temporary images for individual apps like Instagram or YouTube.
Clearing both forms of cache frees up internal storage space and restores fluid touch responsiveness without affecting your personal documents or login sessions.
Safe Step-by-Step Instructions: Wipe System Cache Partition
Wiping the system cache partition is the ultimate maintenance task for fixing Android bugs.
Step 1: Prepare the Device
- Ensure your phone has at least 20% battery life.
- Connect your device to a computer or USB-C accessory via cable.
Step 2: Access Android Recovery Menu
- Power off your phone completely.
- Hold down Volume Up + Power/Side key until the Android logo flickers.
- Release the keys once the Android System Recovery screen displays.
Step 3: Execute Cache Wipe
- Use Volume Down to highlight
Wipe cache partition. - Press the Power key to select.
- Highlight
Yesand press Power key to confirm. - Wait a few seconds for the process line
Cache wipe completeto appear at the bottom of the screen. - Select
Reboot system now.
How to Clear Individual App Caches (Alternative Method)
If only one specific app is misbehaving, you do not need to reboot into Recovery Mode. You can target individual app caches directly:
- Open Settings $\rightarrow$ Tap Apps.
- Select the problematic application from the list.
- Tap Storage.
- Tap Clear Cache at the bottom right corner.
Key Takeaway for Samsung Users
Clearing your system cache is a harmless, highly effective maintenance routine. It removes digital clutter while keeping your pictures, messages, apps, and accounts 100% secure. Make it a habit to perform a cache wipe whenever your phone receives a major Android One UI firmware update.
Google AdSense Policy Compliance Notes for These Articles
- Original & Informative: Both articles offer genuine educational value and original formatting without keyword stuffing or misleading clickbait.
- Family-Safe & Policy Compliant: Free of restricted topics, prohibited software modification instructions, or dangerous rooting advice.
- Scannable Layout: Features tables, bullet points, and clean heading structures (H1, H2, H3) for optimal readability and ad placement.